> ## Documentation Index
> Fetch the complete documentation index at: https://viewerdocs.planpoint.io/llms.txt
> Use this file to discover all available pages before exploring further.
# Checklist
> This checklist is designed to guide you through a successful Planpoint launch, from planning and preparation to execution.
### Cloud folder
The first thing you will need is a cloud folder in which you organize all the necessary content at the same place. You can then share this folder with your provider or with us.
 ### Property Images
You need one or many rendering(s) of your project. It cand also be a photo or many photos of your building. The required format is JPG. The maximum weight is 1MB, anything under is better. Images should not exceed 1000px horizontally.
* Use your best money-shot for this main image.
* If you have a multi-phase project, use a bird's eye-view of the project for the group image. [View a group project here.](https://www.planpoint.io/types/rentals)
* If you wish to use our [360° project feature](https://www.planpoint.io/new-releases/360-project), gather all the best shots from all around the building.
**PRO TIP:** Vertical images will look better than horizontal images, just like the one below:
### Property Images
You need one or many rendering(s) of your project. It cand also be a photo or many photos of your building. The required format is JPG. The maximum weight is 1MB, anything under is better. Images should not exceed 1000px horizontally.
* Use your best money-shot for this main image.
* If you have a multi-phase project, use a bird's eye-view of the project for the group image. [View a group project here.](https://www.planpoint.io/types/rentals)
* If you wish to use our [360° project feature](https://www.planpoint.io/new-releases/360-project), gather all the best shots from all around the building.
**PRO TIP:** Vertical images will look better than horizontal images, just like the one below:
 ### Floors
You also need all the floor plates for all floors of your building. Each of them need to be separated for each floor and saved in JPG format. Consider adding the following elements to provide a better experience for your clients:
* Compass
* Landscaping
* Parking area
* Streets and directions
* Natural features like rivers, mountains, etc.
* Design cleaned out of construction or architectural details
Here's a good example:
### Floors
You also need all the floor plates for all floors of your building. Each of them need to be separated for each floor and saved in JPG format. Consider adding the following elements to provide a better experience for your clients:
* Compass
* Landscaping
* Parking area
* Streets and directions
* Natural features like rivers, mountains, etc.
* Design cleaned out of construction or architectural details
Here's a good example:
 ### Unit layouts
All unit layout plans must be created in two versions:
* **One JPG version** for the plan viewer. This is the first thing you see while looking at a specific unit.
* **One PDF version** for the download PDF button on every unit page.
When units span more than one floor, the **PDF** can contain multiple pages, but the **JPG** version of the same unit must be separated into multiple separate images - they will appear as a gallery.
### Unit layouts
All unit layout plans must be created in two versions:
* **One JPG version** for the plan viewer. This is the first thing you see while looking at a specific unit.
* **One PDF version** for the download PDF button on every unit page.
When units span more than one floor, the **PDF** can contain multiple pages, but the **JPG** version of the same unit must be separated into multiple separate images - they will appear as a gallery.
 ### Unit list
You must have your project's unit list with all important information such as unit name, area, number of bedrooms, price, availability, occupancy dates, inclusions, etc.
**PRO TIP:** We provide an Excel [template that you can download](https://app.planpoint.io/assets/template.xlsx) and use as the basis for your unit list.
Please view the video below to understand the proper formatting to be used in your document:
### Optional content
Planpoint allows you to add images for each unit. Please resize your images to max 1800px horizontally and no more than 1MB per image - images that are compressed will load faster for your clients! We recommend using free tools such as [TinyJPG](https://tinyjpg.com) and [Squoosh](https://squoosh.app).
Here's some ideas of what you can display:
* interiors of units like kitchen, bathroom, dining room
* exterior views from the point of view of the unit
* project highlights
### Unit list
You must have your project's unit list with all important information such as unit name, area, number of bedrooms, price, availability, occupancy dates, inclusions, etc.
**PRO TIP:** We provide an Excel [template that you can download](https://app.planpoint.io/assets/template.xlsx) and use as the basis for your unit list.
Please view the video below to understand the proper formatting to be used in your document:
### Optional content
Planpoint allows you to add images for each unit. Please resize your images to max 1800px horizontally and no more than 1MB per image - images that are compressed will load faster for your clients! We recommend using free tools such as [TinyJPG](https://tinyjpg.com) and [Squoosh](https://squoosh.app).
Here's some ideas of what you can display:
* interiors of units like kitchen, bathroom, dining room
* exterior views from the point of view of the unit
* project highlights
 Planpoint allows you to add 3D tours for each unit in your project. There's two different technologies for this. The base 3D tour is the one you see below, which 3D artists can create in any typical rendering software as a '360 image'. It can also be a simple Matterport tour.
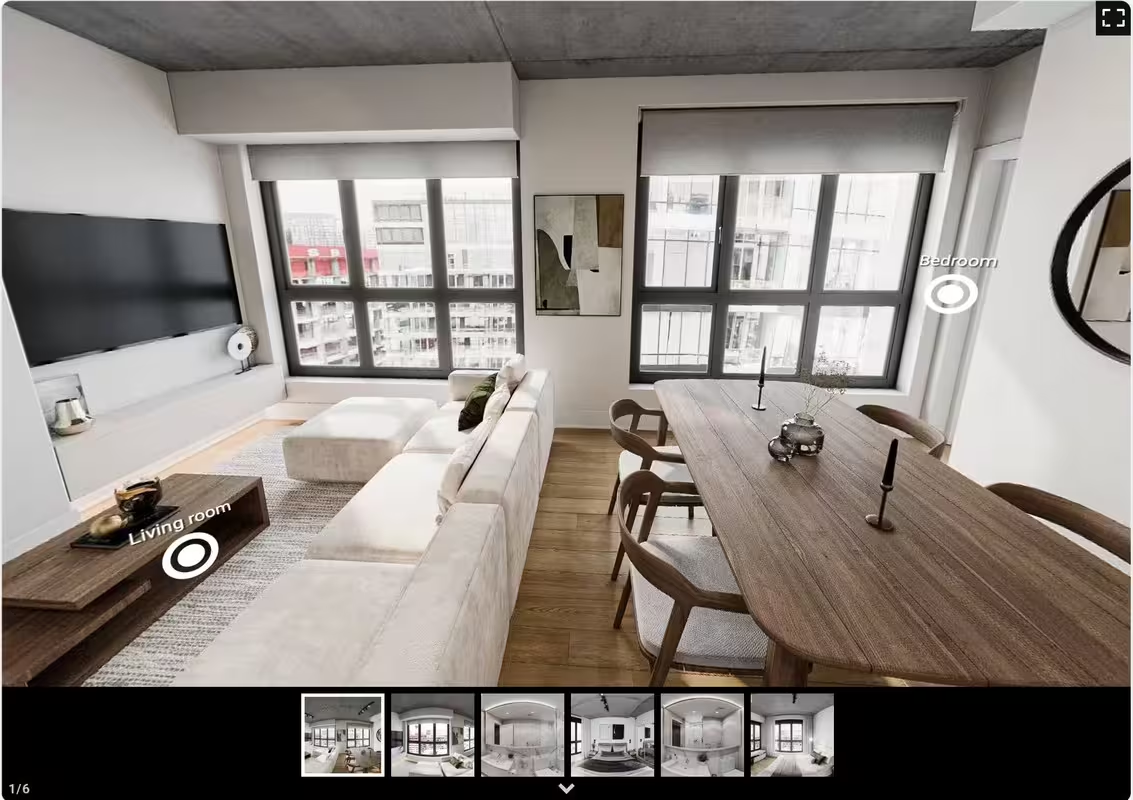 The second one is the [next-gen 3D tour](https://www.planpoint.io/new-releases/next-gen-3d-tours) which allows for dynamic choice of finishes, element selection and room measurements.
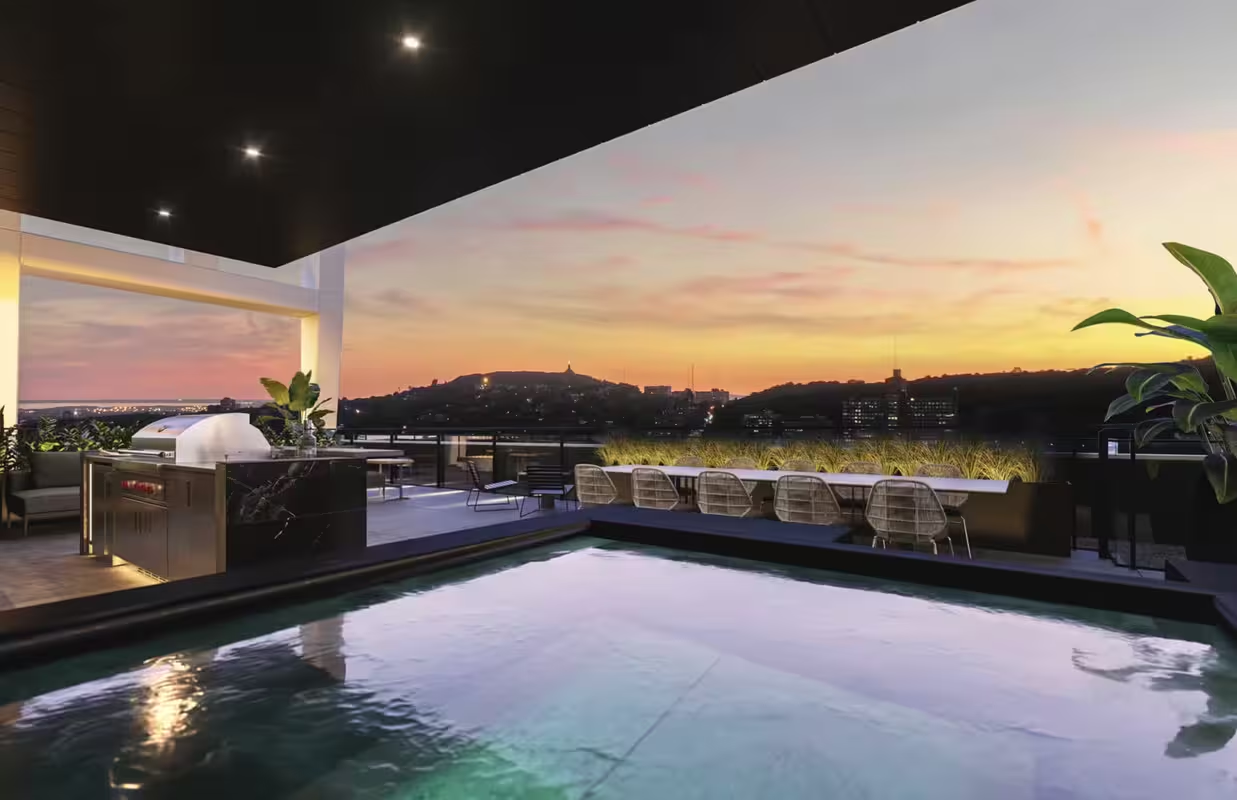
You can also include renderings or photos of your amenities such as the pool, the terrace, the interior courtyard and use our **Amenities** feature to showcase them.
The second one is the [next-gen 3D tour](https://www.planpoint.io/new-releases/next-gen-3d-tours) which allows for dynamic choice of finishes, element selection and room measurements.
You can also include renderings or photos of your amenities such as the pool, the terrace, the interior courtyard and use our **Amenities** feature to showcase them.
 ## What kind of plan viewer are you creating?
It's important to take note of the various requirements for different types of plan viewer before going any further.
Condominium projects and new construction rental buildings.
Single-family home developments projects and pure land projects.
Existing multifamily buildings offering appartments for rent.
Retail, office and industrial properties for lease and sale.
## What kind of plan viewer are you creating?
It's important to take note of the various requirements for different types of plan viewer before going any further.
Condominium projects and new construction rental buildings.
Single-family home developments projects and pure land projects.
Existing multifamily buildings offering appartments for rent.
Retail, office and industrial properties for lease and sale.