> ## Documentation Index
> Fetch the complete documentation index at: https://viewerdocs.planpoint.io/llms.txt
> Use this file to discover all available pages before exploring further.
# Payments
> Easily set up and accept payments for deposits and reservations in over 135 currencies and 40+ payment methods
Setting up your payments is straightforward, and best of all, you can customize various aspects of the payment process, as outlined below.
### How to Set Up Your Payments
**1. Select Your Project**\
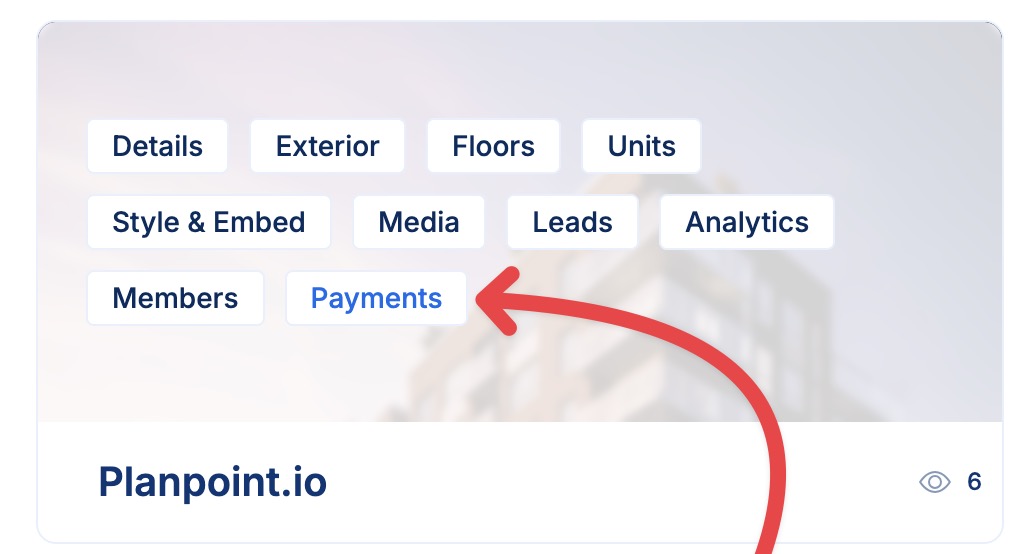
Navigate to the project you wish to set up payments for and click on **Payments**.
 **2. Access the Payments Module**\
After clicking on **Payments**, you will be redirected to the Payments module.
**3. Configure Payment Settings**\
In the Payments module, you can customize the following settings:
You will find two main sections in this module: the Planpoint section, where you can set up and customize your payments, and the Customers section, where you can view the history of all payments received.
**2. Access the Payments Module**\
After clicking on **Payments**, you will be redirected to the Payments module.
**3. Configure Payment Settings**\
In the Payments module, you can customize the following settings:
You will find two main sections in this module: the Planpoint section, where you can set up and customize your payments, and the Customers section, where you can view the history of all payments received.
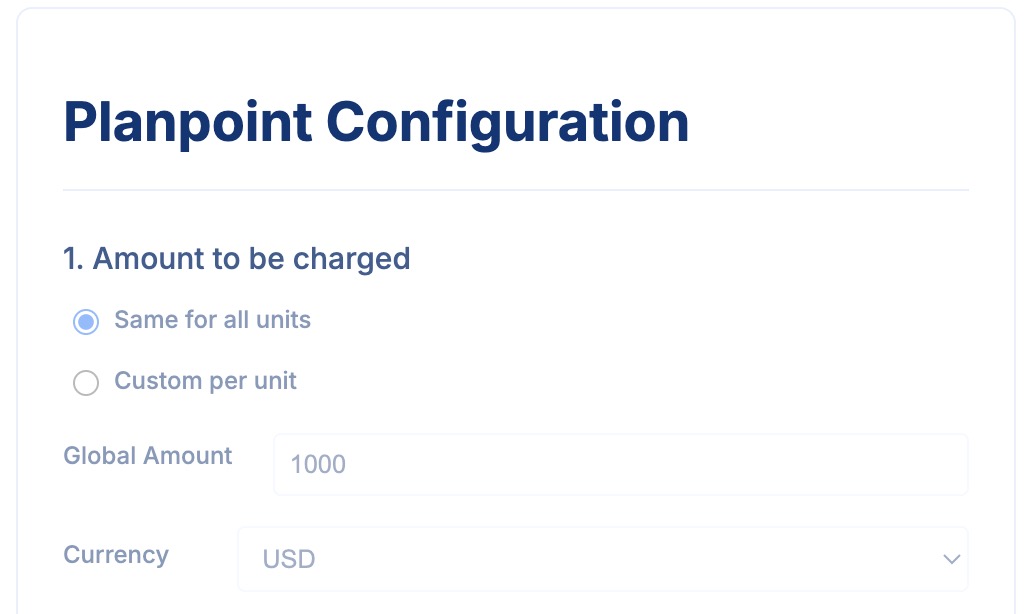
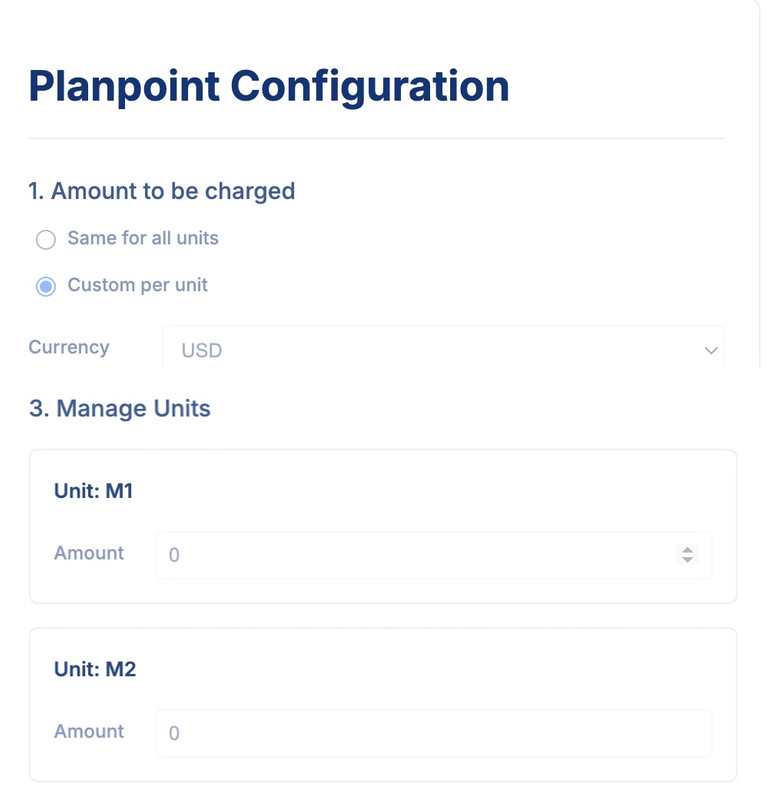
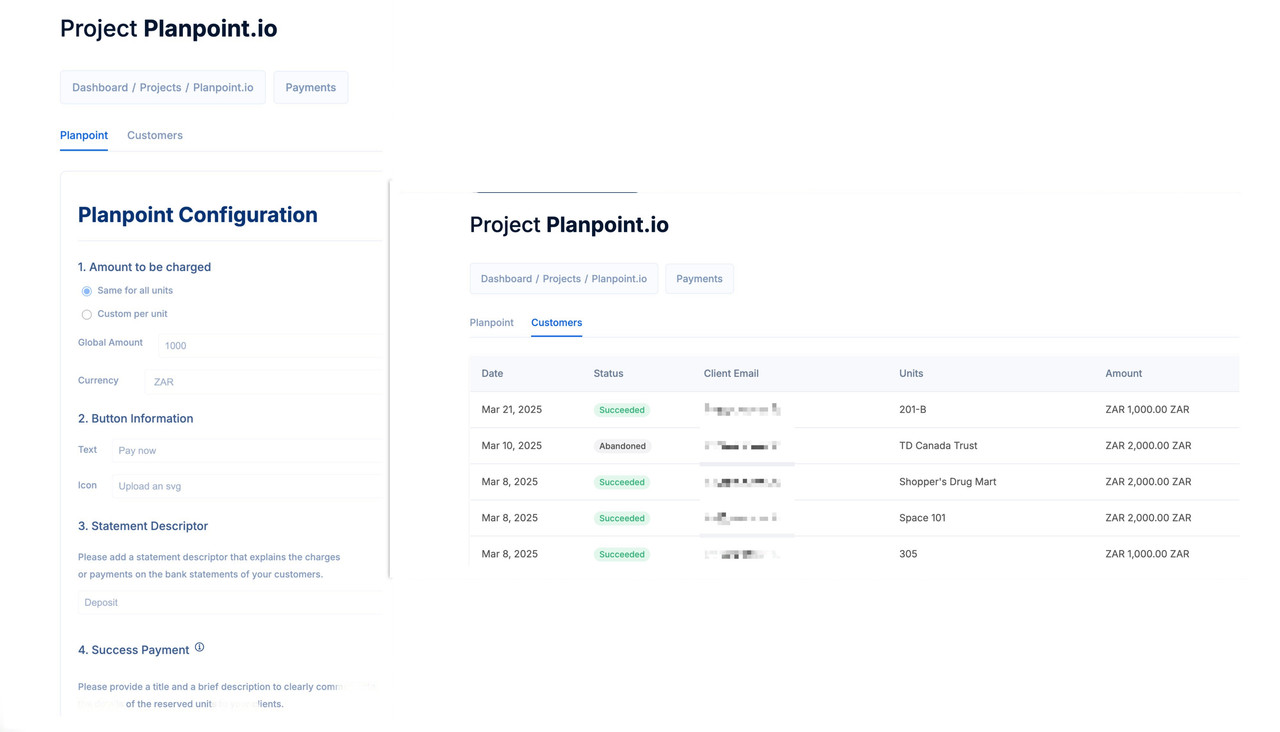 The **Amount to be Charged** allows you to specify the charge amount. You can set a uniform amount for all units or customize the amount per unit. Additionally, you can select from over 135 supported currencies.
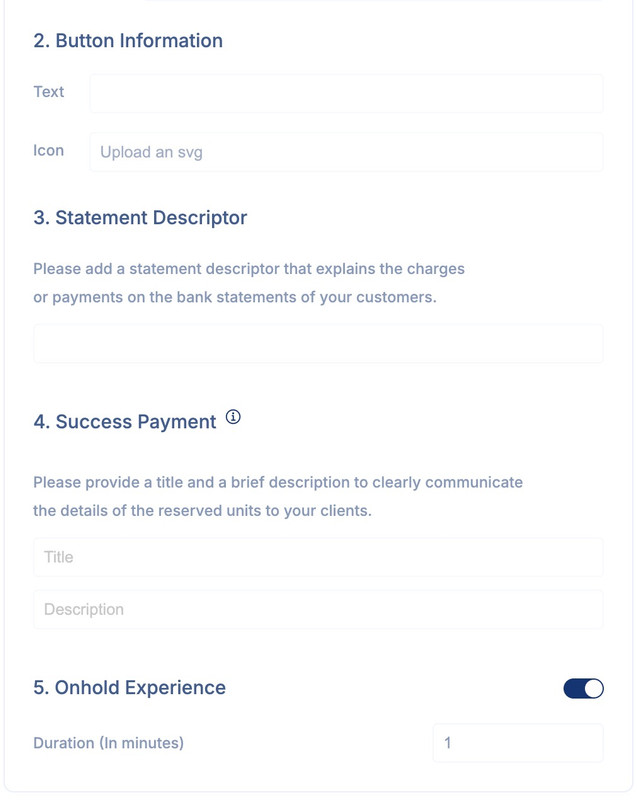
 The **Button Information** section allows you to customize the text displayed on the payment button in the plan viewer. Additionally, you can upload an SVG file to use as an icon.
The **Statement Descriptor** explains the charges or payments that appear on your customers' bank statements.
The **Success Payment** allows you to provide a title and description to communicate the details of the reserved unit to your clients.
Once the user clicks the Payment button, the unit status will switch to **On Hold**. This status is temporary and unique to this process. It will remain On Hold for X minutes or until the user completes the payment, at which point the status will update to Reserved or Purchased.
The **Button Information** section allows you to customize the text displayed on the payment button in the plan viewer. Additionally, you can upload an SVG file to use as an icon.
The **Statement Descriptor** explains the charges or payments that appear on your customers' bank statements.
The **Success Payment** allows you to provide a title and description to communicate the details of the reserved unit to your clients.
Once the user clicks the Payment button, the unit status will switch to **On Hold**. This status is temporary and unique to this process. It will remain On Hold for X minutes or until the user completes the payment, at which point the status will update to Reserved or Purchased.
 Please note that you can enable or disable the payment options in the Settings module, under Style and Embed.