> ## Documentation Index
> Fetch the complete documentation index at: https://viewerdocs.planpoint.io/llms.txt
> Use this file to discover all available pages before exploring further.
# Settings
> This article describes how to create a plan viewer with Planpoint starting with the first module: the general settings.
**Prerequisite** You should have all your content already prepared. For more details about the content, please read the [checklist](/checklist).
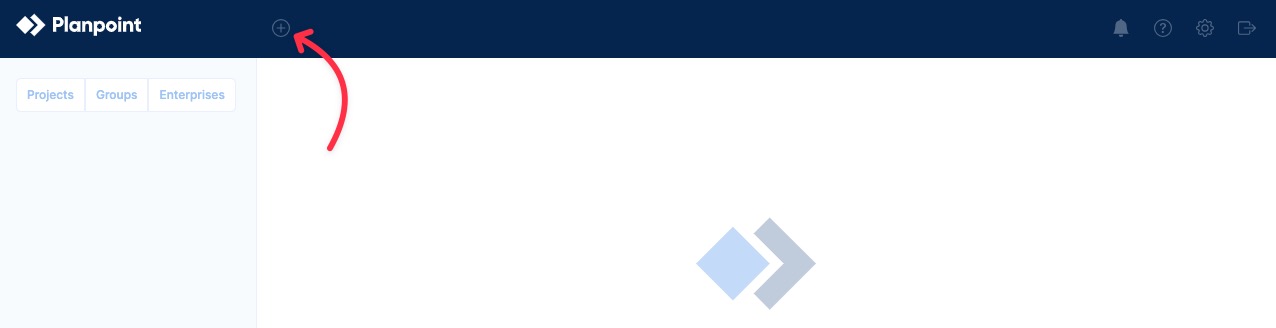
Click on the + button on the upper left side of the dashboard.
 Assign a project name, address, choose the project type (sales, rental, land, commercial), and select whether you want to skip the floor or not. This allows you to jump directly from the project render to the unit you choose to view. This feature is typically used for small projects.
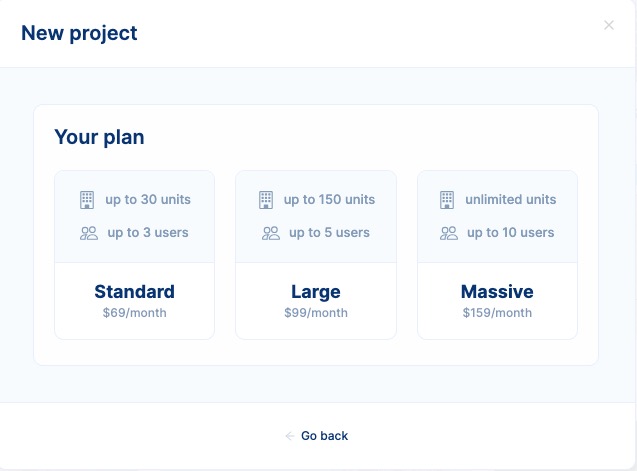
 Choose the specific plan for this specific project. Plans are based on the number of **units per project.** Larger real estate projects require a larger monthly plan.
 The project is now created but empty. In your dahsboard, click on **details.**
 This will redirect you to the **settings** module, where you will find the following tabs:
 Under **details** you can do the following:
* Define a cover image. This is the image that will appear in the card preview of the project in the dashboard and will also be your main building image. Please choose a high-resolution image, but no bigger than 1 MB.
* Edit the project's name.
* If you wish, you can add the website URL of your project, which will redirect you to the project's website.
* You can also add an internal URL for the project. This is intended for your marketing and sales teams.
Under **details** you can do the following:
* Define a cover image. This is the image that will appear in the card preview of the project in the dashboard and will also be your main building image. Please choose a high-resolution image, but no bigger than 1 MB.
* Edit the project's name.
* If you wish, you can add the website URL of your project, which will redirect you to the project's website.
* You can also add an internal URL for the project. This is intended for your marketing and sales teams.
 * Configure the various connections we offer. If there is another connection you'd like to have, please contact us, and we’ll be happy to assist you. Additionally, you can explore our [Zapier](https://viewerdocs.planpoint.io/zapier) integration with Planpoint.
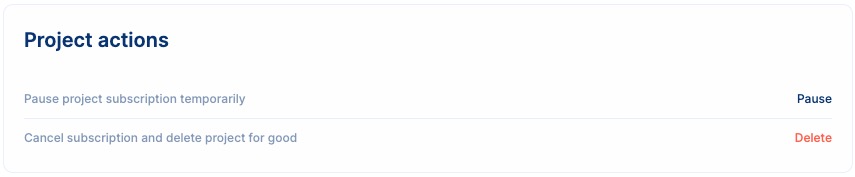
 * Pause or delete the project's suscription
 After finishing with the project details, move on to the **customization** tab. Here you can do the following:
* Select the property type (Condominium, rental, townhouse, house, land, retail, office, commercial, industrial).
* Turn on/off prices. When turned on, the plan viewer will show each unit's price.
* Turn on/off availabilities. When turned on, the plan viewer will specify wether each unit is available or not.
* Turn on/off freely the unit information. This includes inclusions, parking, orientation, bathrooms, descriptions, finishes and more.
After finishing with the project details, move on to the **customization** tab. Here you can do the following:
* Select the property type (Condominium, rental, townhouse, house, land, retail, office, commercial, industrial).
* Turn on/off prices. When turned on, the plan viewer will show each unit's price.
* Turn on/off availabilities. When turned on, the plan viewer will specify wether each unit is available or not.
* Turn on/off freely the unit information. This includes inclusions, parking, orientation, bathrooms, descriptions, finishes and more.
 * Finishing this section, we can see everything related to enterprise. Here you can add the project to the enterprise you have already created. Learn more about the [enterprise feature](https://viewerdocs.planpoint.io/enterprise).
 Keep in mind that you can always preview your work in progress by navigating to the settings module, under the **Style & Embed** tab
## Troubleshooting
Here's how to solve some common problems when setting up a project.
Please remember to add a credit card to your profile before initiating a project.
Yes, you can change a monthly plan for a project only if it's a **rental** one. Rental projects are based in vacant units.
For any connections, please contact us via support @ planpoint.io.
Keep in mind that you can always preview your work in progress by navigating to the settings module, under the **Style & Embed** tab
## Troubleshooting
Here's how to solve some common problems when setting up a project.
Please remember to add a credit card to your profile before initiating a project.
Yes, you can change a monthly plan for a project only if it's a **rental** one. Rental projects are based in vacant units.
For any connections, please contact us via support @ planpoint.io.