Change the icon You can change the 360º icon to any SVG file of your choice. This allows for different experiences, like switching levels, changing buildings, etc. Please read below.
1
Step 1
Access the configuration module within your project dashboard and navigate to the Exterior tab.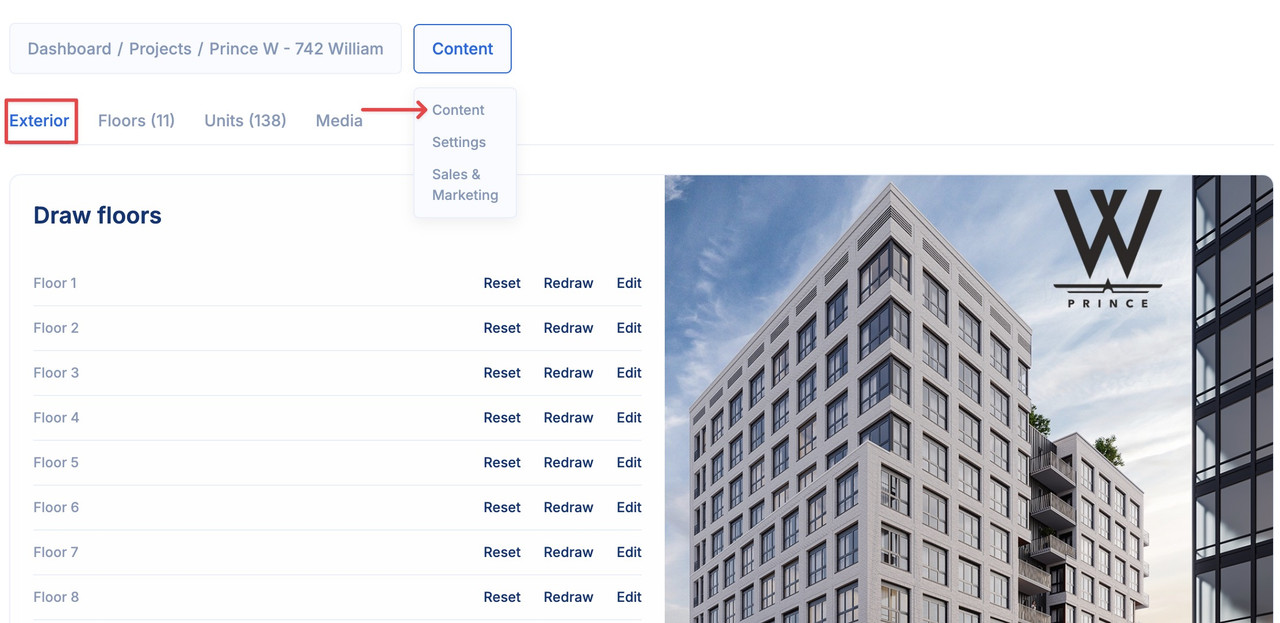
2
Step 2
Arrange the desired views in the preferred sequence for presentation within your project. Simply click on the plus button to incorporate various views into the display order.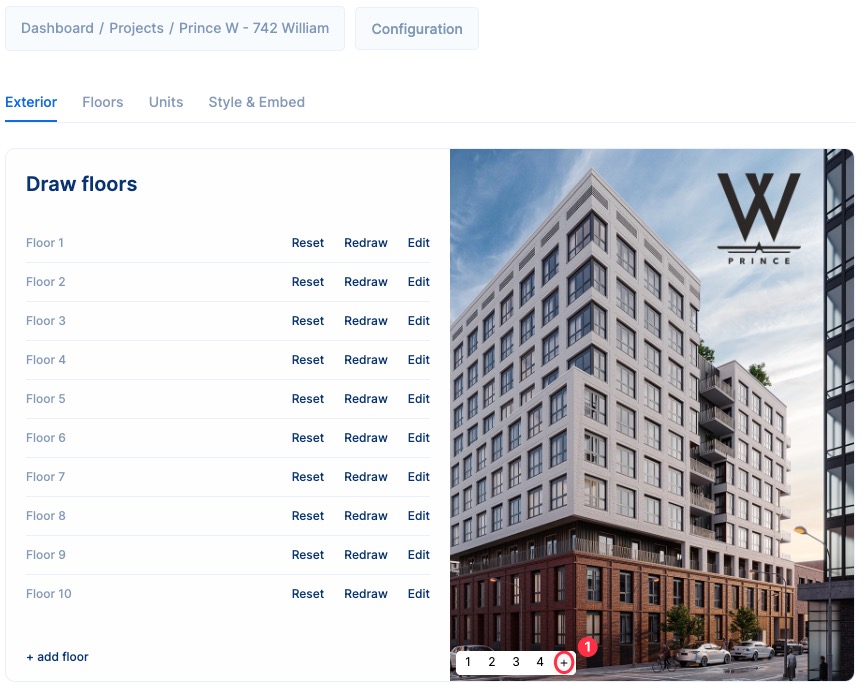
3
Step 3
After organizing the images, you need to draw the simple polygons on each floor of each render. Just click on Draw or Redraw and repeat this process until finished.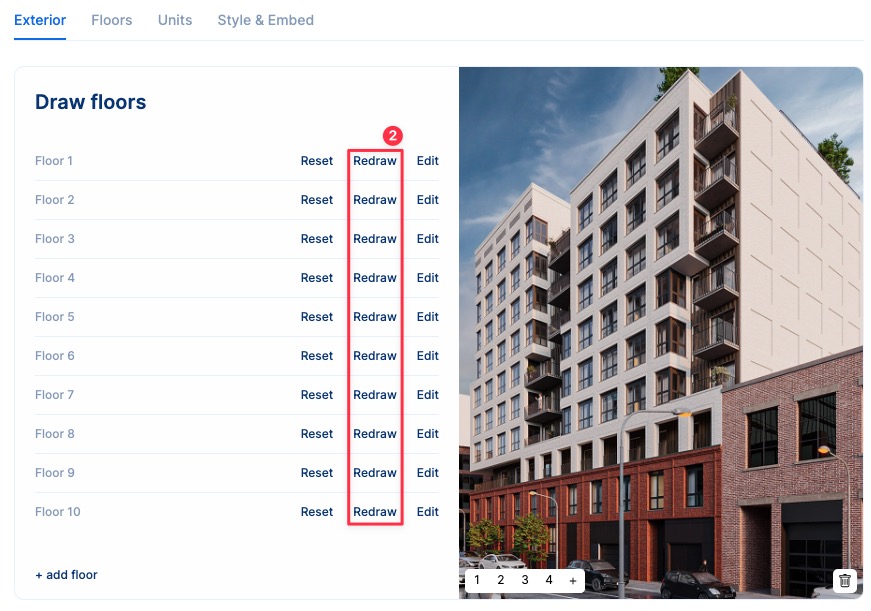
Review and edit
You can navigate the different views just by clicking here: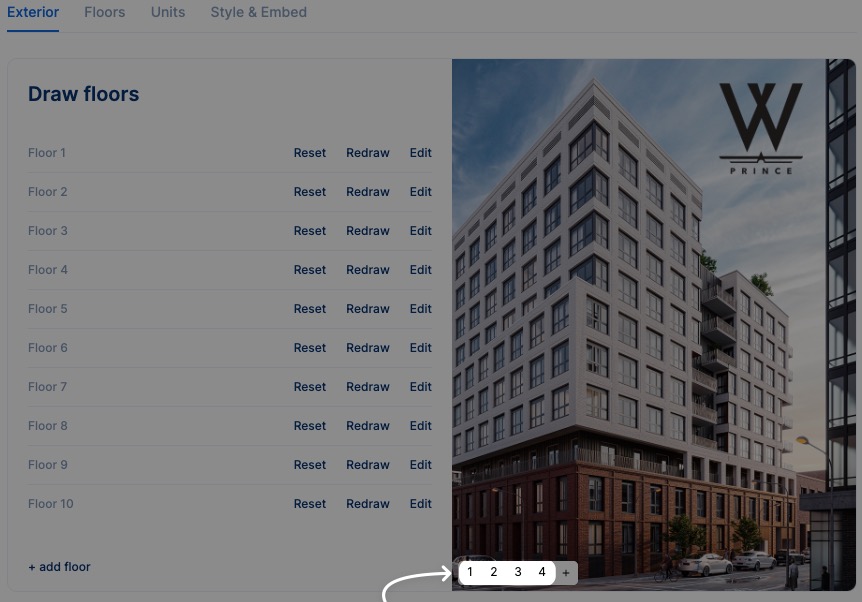
Changing the 360º icon
You can change Planpoint’s default 360º icon to any SVG file. You can only upload one file. This option is available in Content > Exterior.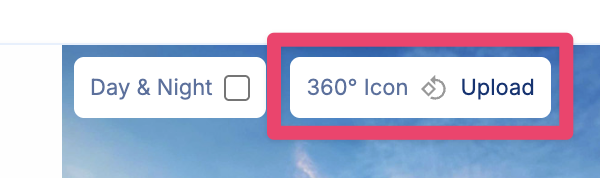
Troubleshooting
Here’s how to solve some common problems when setting up a 360º project.The exterior drawing is not being displayed.
The exterior drawing is not being displayed.
Please try refreshing the page.
Can't find this feature?
Can't find this feature?
This feature is only available in Planpoint V2. Please go to your V2 dashboard.