The unit tab now contains all the floors previously created in the exterior module. You can import a CSV file containing all your units for quicker upload.
We provide a template with proper format that you must follow in order for Planpoint to interpret your data.
Download the Excel template here. The download button, located next to the upload button, allows you to download a CSV file of the current unit list. This feature is particularly useful if you need to make bulk updates to the unit list and re-upload it to update the project.
Please view the following video to understand how to prepare your Excel file before import:
You can also add units manually, one-by-one. Click on Add unit on the corresponding floor and repeat for each unit.
2
Step 2
Once the units are imported, you will see the unit menu. It contains several other features that you can access through the icons on the right.
The first icon is for uploading a cover image for this specific unit. It will only be visible in the plan viewer when using grid mode.
The second icon is for uploading different finishes for this unit.
The third icon is for uploading an image gallery for this specific unit. For example, you could show interior renderings or exterior drone views.
The fourth icon allows you to add a URL for your custom button. This URL will redirect users to the selected website when the custom button is clicked. For example, you can add a “Book a Tour” button. The URL can be added to individual units or applied to multiple units as needed.
The fifth icon is for embedding a 3D virtual visit. You can simply copy-paste code from Kuula or other virtual visit providers.
The sixth icon is for uploading the PDF version of the unit’s plan layout. This PDF will be downloadable by the end-user.
The seventh icon is for uploading a JPG or PNG version of the unit’s plan layout. This image will be shown in the plan viewer but is not downloadable.
The eighth icon allows you to define the perimeters of the lots in a Homes & Land project
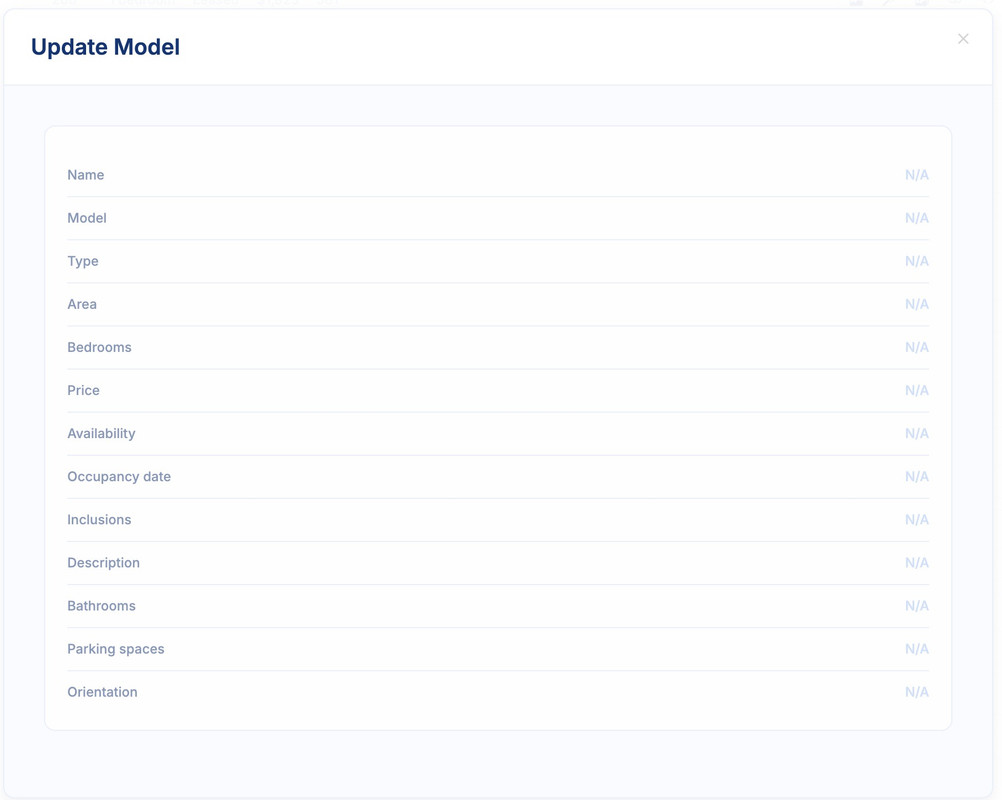
The ninth icon lets you edit the unit number, the model number, the type of unit, the area, the number of bedrooms, the price, availability, the occupancy dates, inclusions, description, number of bathrooms, the number of parking spaces and orientation.
The tenth icon is used to delete this specific unit.
*The number in parentheses next to the floor number represents the total number of units on that floor.
3
Step 3
With all your units in the system, you can click on the edit icon (ninth from the left), allowing you to modify the unit’s basic information.
The Name is your internal referral number. It can be numerical or alphanumerical.
The Model number is the unit’s model layout. A particular model can reappear on the same floor or on different floors. In such instance, simply writing the model number in this field will automatically fill up the area, number of bedrooms, price and availability fields.
You assign a Type if the unit is either a parking or an amenity.
The Area is the square footage or square meter of this particular plan. You decide wether to show net or gross area.
The Bedrooms field is a simple dropdown choice.
The Price number is the unit’s price. For sales, you would enter the full list price (before or after tax is your choice). For rentals, you would enter the monthly rent amount.
The Availability field is a simple dropdown choice between Available, Unavailable, Sold and Reserved. The unavailable units will not be shown in the plan viewer and the sold units cannot be clicked on in the plan viewer.
The Occupancy date can be be selected on a calendar to show when the unit will be available.
The Inclusions can be added in a comma separated list.
The Description of the unit must be added as a text.
For Bathrooms, just type the number of bathrooms the unit has.
For Parking Spaces, just type the number of parking spaces the unit has.
*The Orientation indicates the direction the unit will face. For example, you can specify “Mountain View” or simply “South.”
If you do not observe the changes made to your units, please refresh the page.
Here’s how to solve some common problems when uploading units to the project.
I'm experiencing issues uploading the CSV file.
It is crucial to meticulously follow each step outlined in the import video. If the problem persists, please contact us.
Is it possible to update the units automatically, rather than manually?
Yes, you have the option to upload an updated version of the CSV file, and it will overwrite the existing content. You can perform this action as many times as needed.