1
Step 1: Access
To access the Members module, click on Members on top of the project you wish to add it to in your dashboard. Alternatively, you can search for it within the Sales & Marketing module.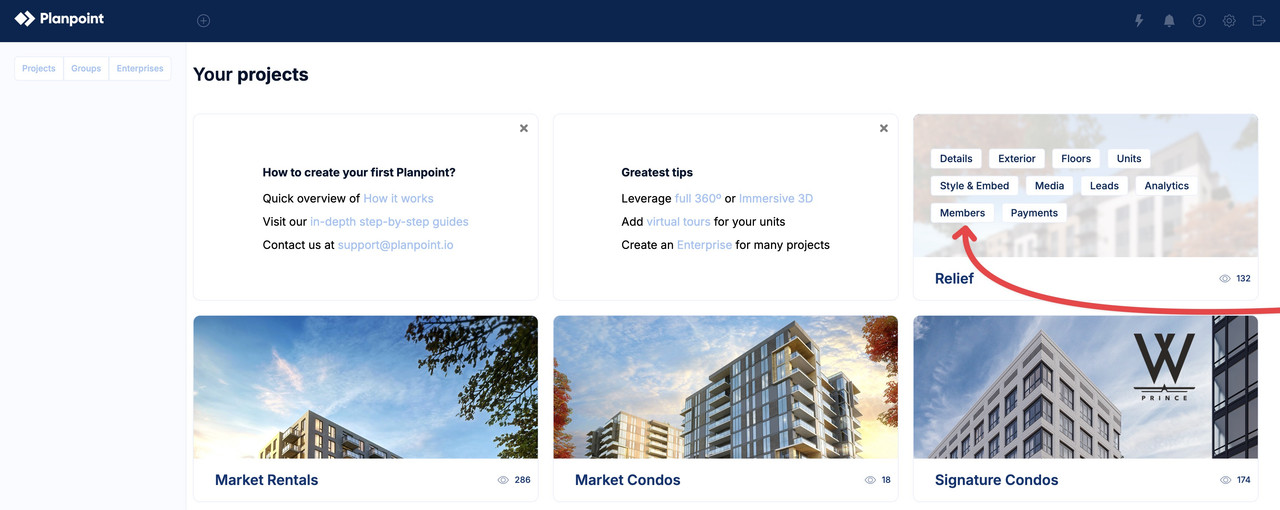
2
Step 2: Invite members
Click on the Invite members button to open up the menu. The table below will list all current members of a specific project.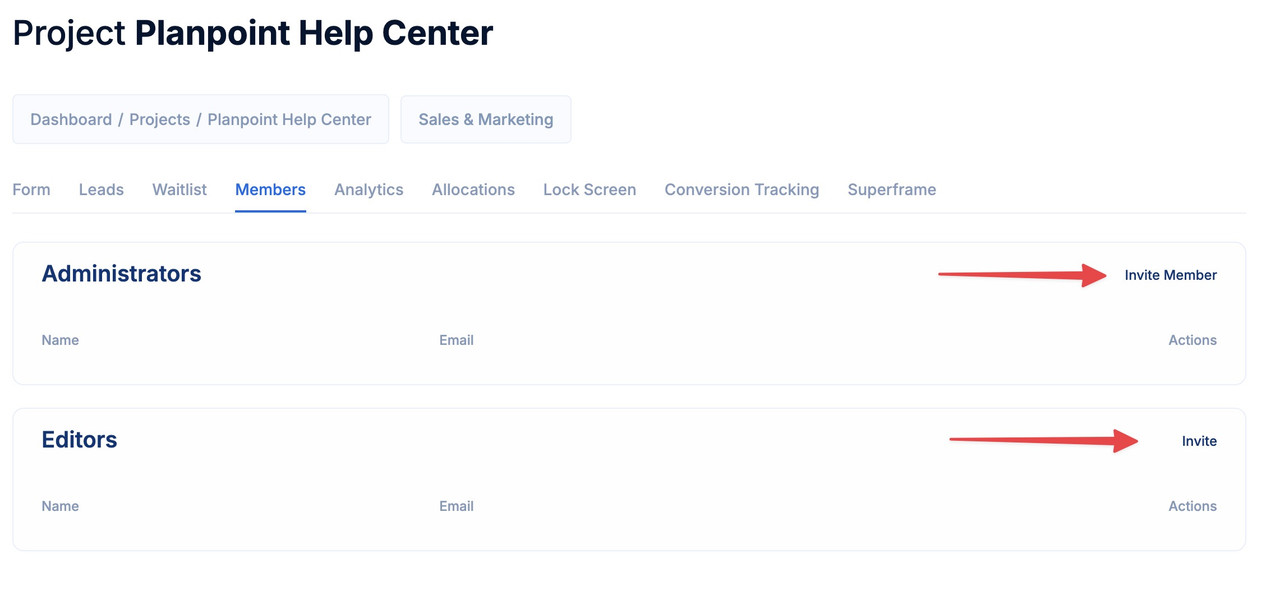
3
Step 3: Enter the members information
Choose a permission level and simply enter the user’s email address. Administrators have all rights except deleting the current project - this is a right only the main initial owner of a Planpoint account has. Editors can only edit the information contained inside the unit module. This is particularly useful for sales admin.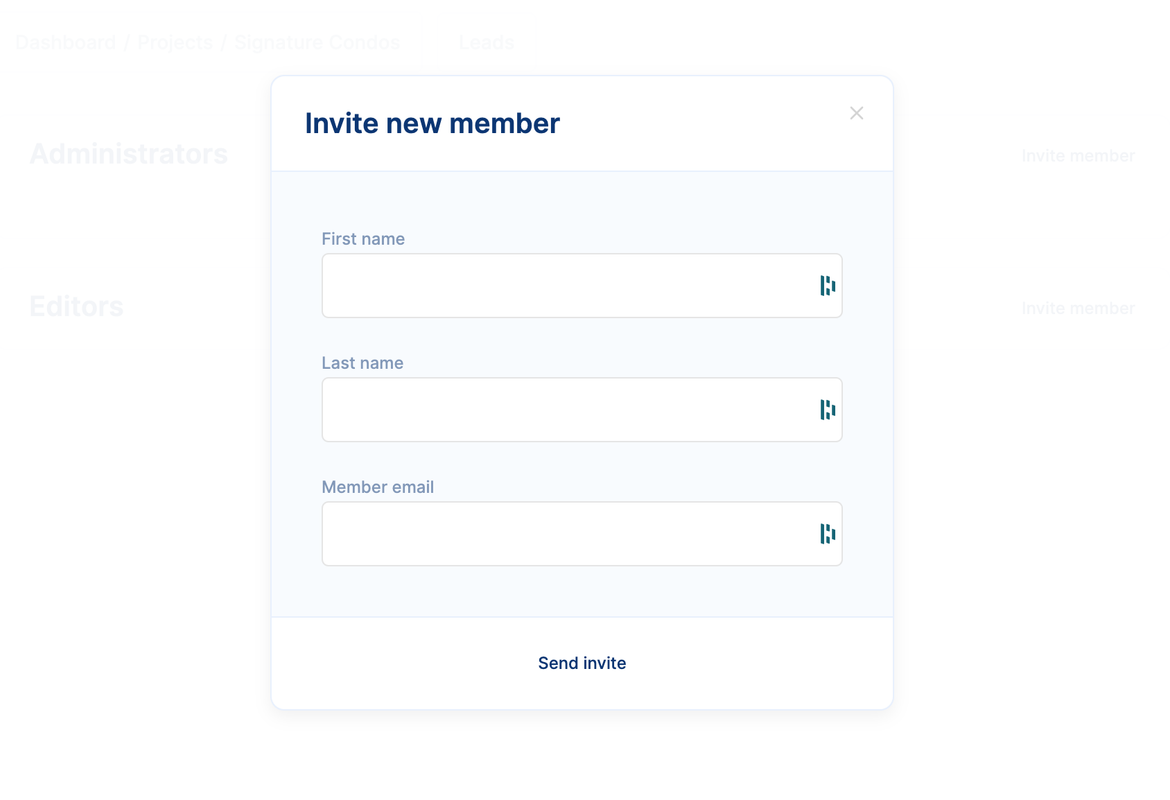
4
Step 4: Accepting the invitation
The member that you invited will receive an email from support@planpoint.io asking them to accept the invitation by clicking on a hyperlink. They will be required to setup their account by creating a password to login. If invited to multiple projects with the same email, they will be able to see multiple projects in the dashboard and manage them from it.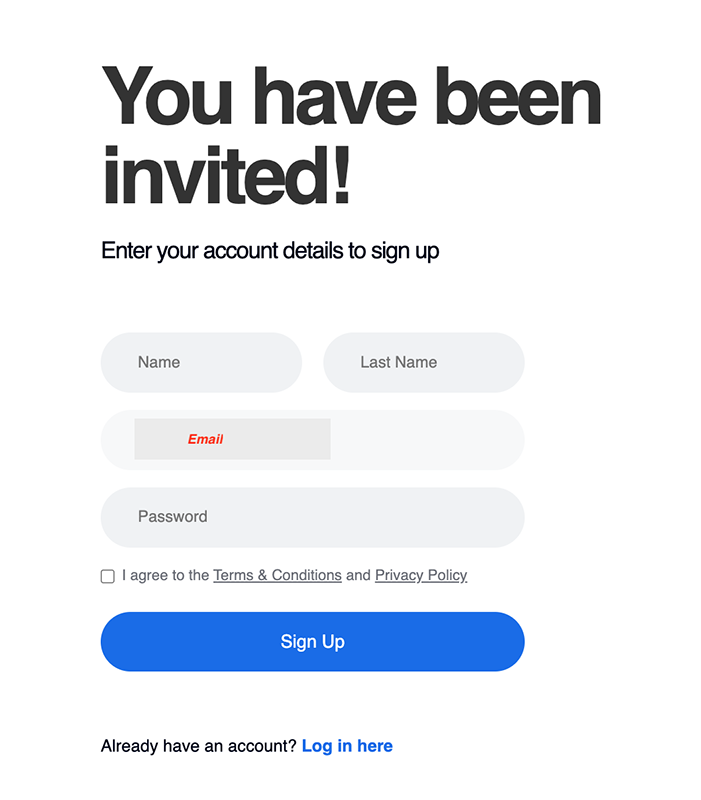
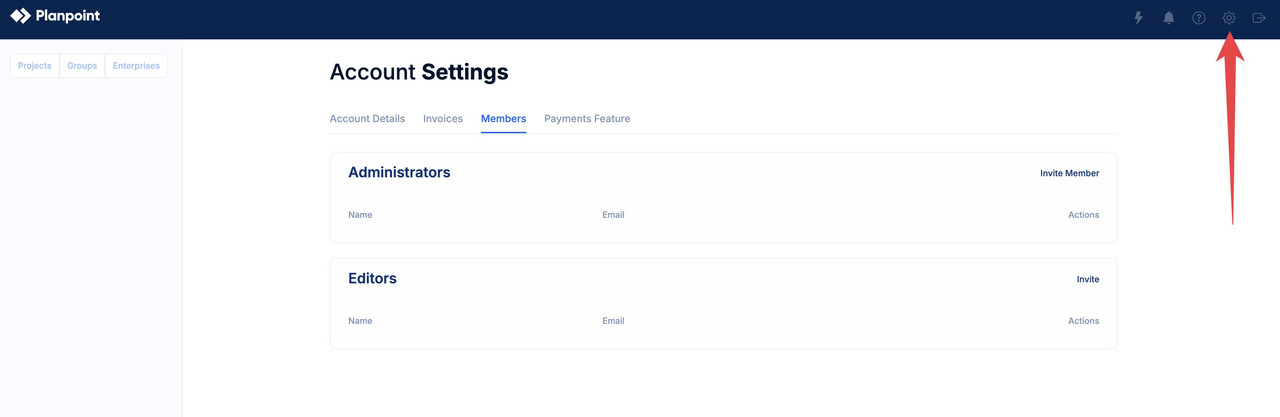
5
Option: Granting and managing access to all projects in your account
For users with multiple Planpoints (projects), you can easily grant access to all of your projects at once for admins or editors. Simply navigate to the Settings in the top right corner of the dashboard and select the Members module to grant and manage permissions.