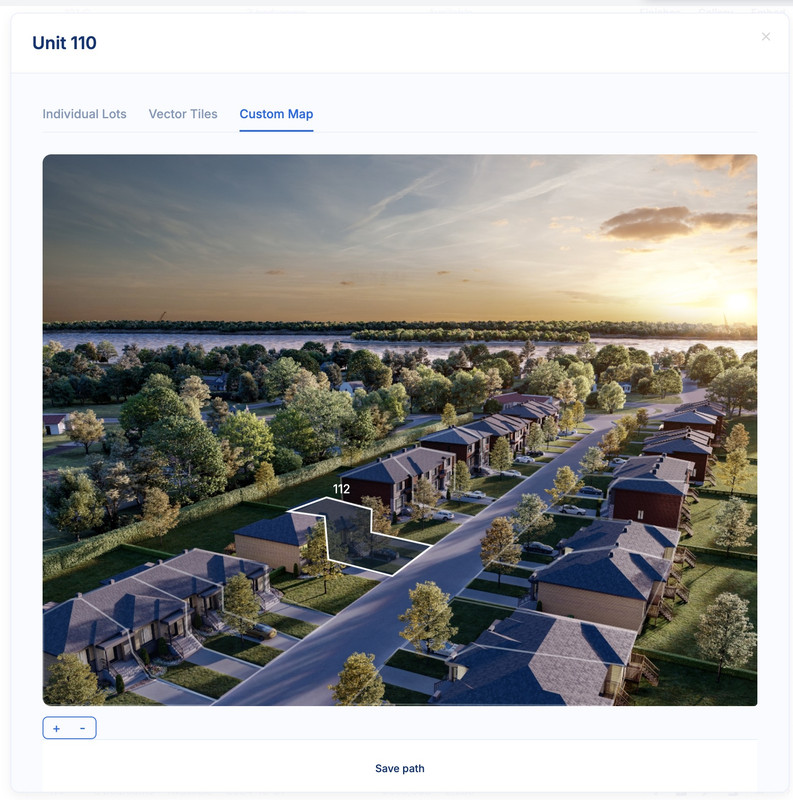
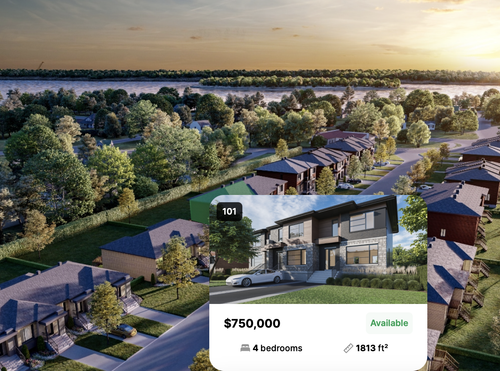
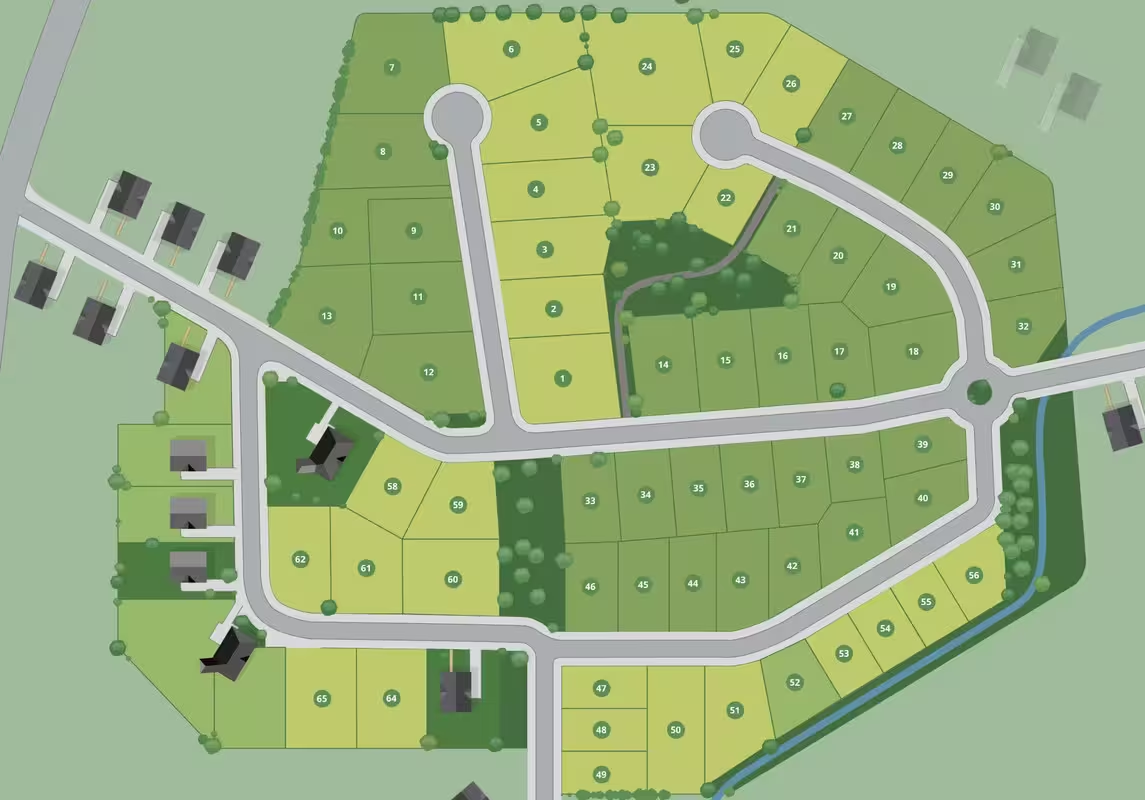
You can map your homes and plots of land to any type of image. In a Homes & Land project, you don’t draw polygons on top of floors - there’s no concept of floors - but directly on the home itself or the land itself.
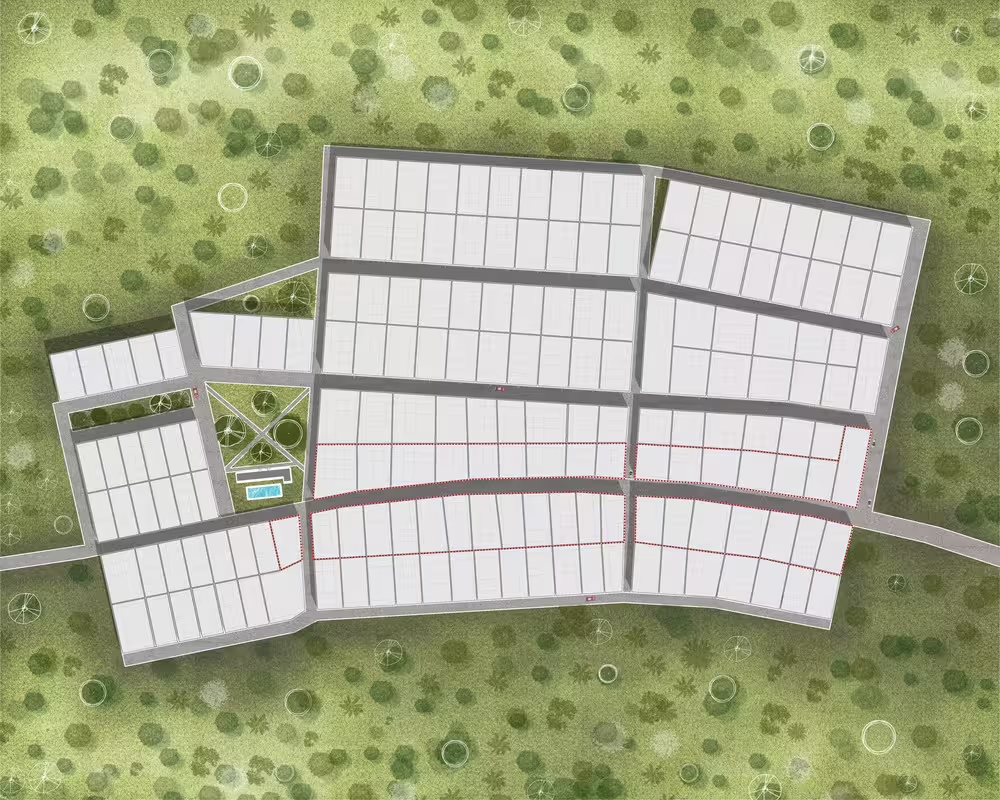
The interactive SVG model is mostly used for maps that have been created in vector editing software. This model allows pre-existing vector shapes to be selectable inside Planpoint. It also allows other elements to be placed on top of the shapes without affecting the hover color.Here’s a live demo.
To use the interactive SVG model, you need to follow a few important requirements when exporting your file.
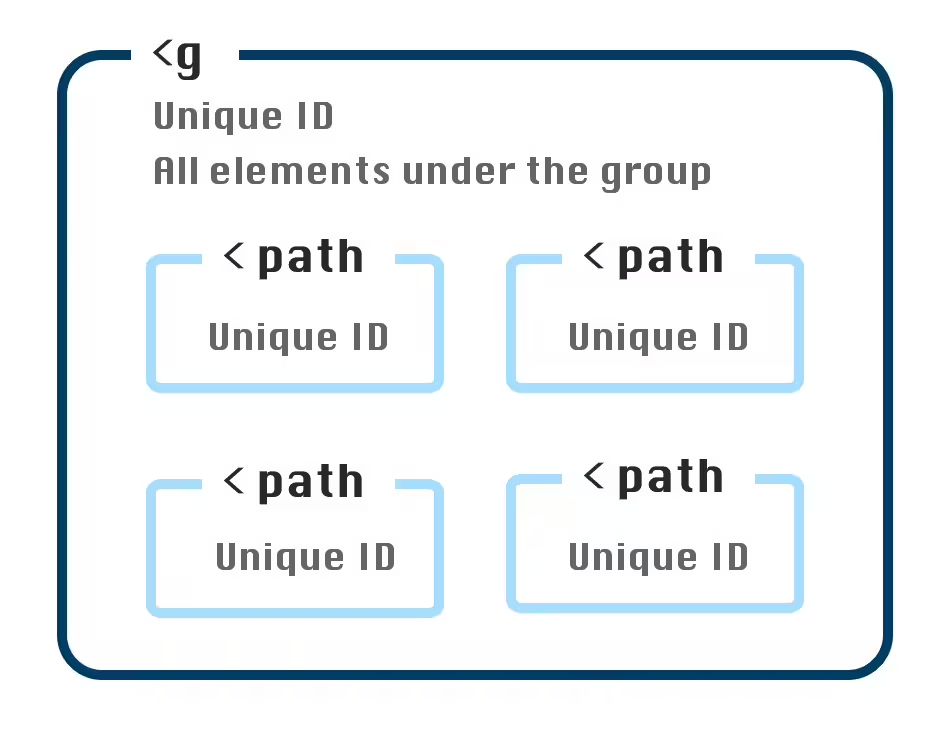
All elements you want to be selectable must be grouped together under one group.
This group must have a unique ID.
Each element under this group must have it’s own unique ID.
Now that we’ve covered how the Homes & Land feature works, let’s show you how to set it up.
1
Step 1
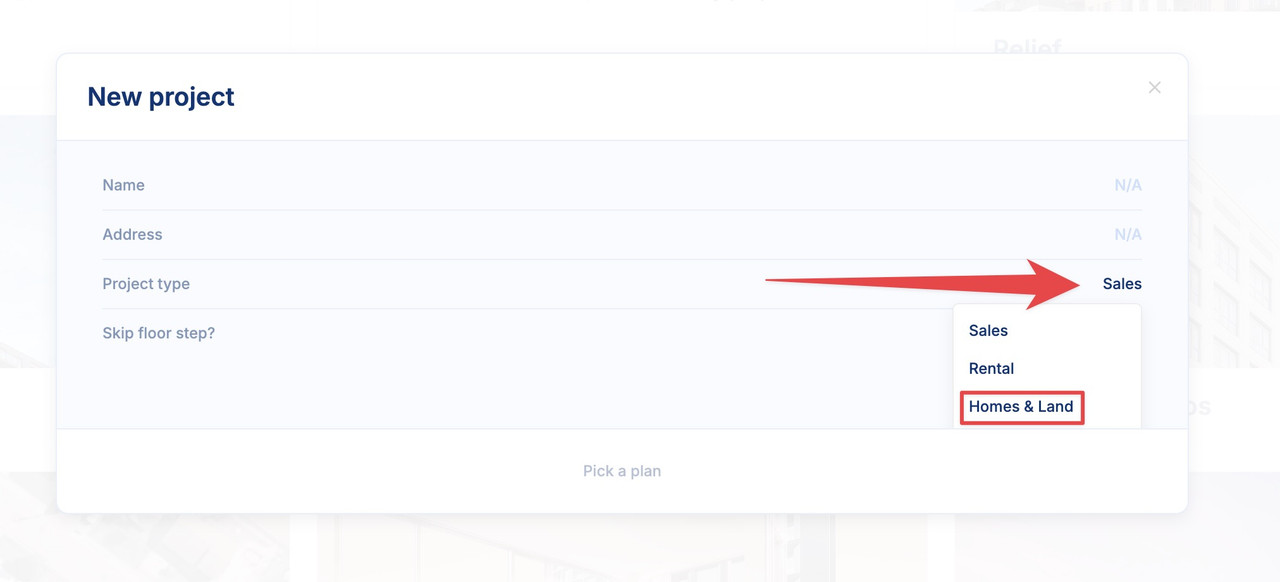
Begin by creating a new project, and select Homes & Land as the project type.
This type of project is set up similarly to a regular project, but there are some differences when it comes to the project’s geolocation and exterior drawings. If you encounter any issues while setting up your project, please refer to our settings page for assistance.
2
Step 2
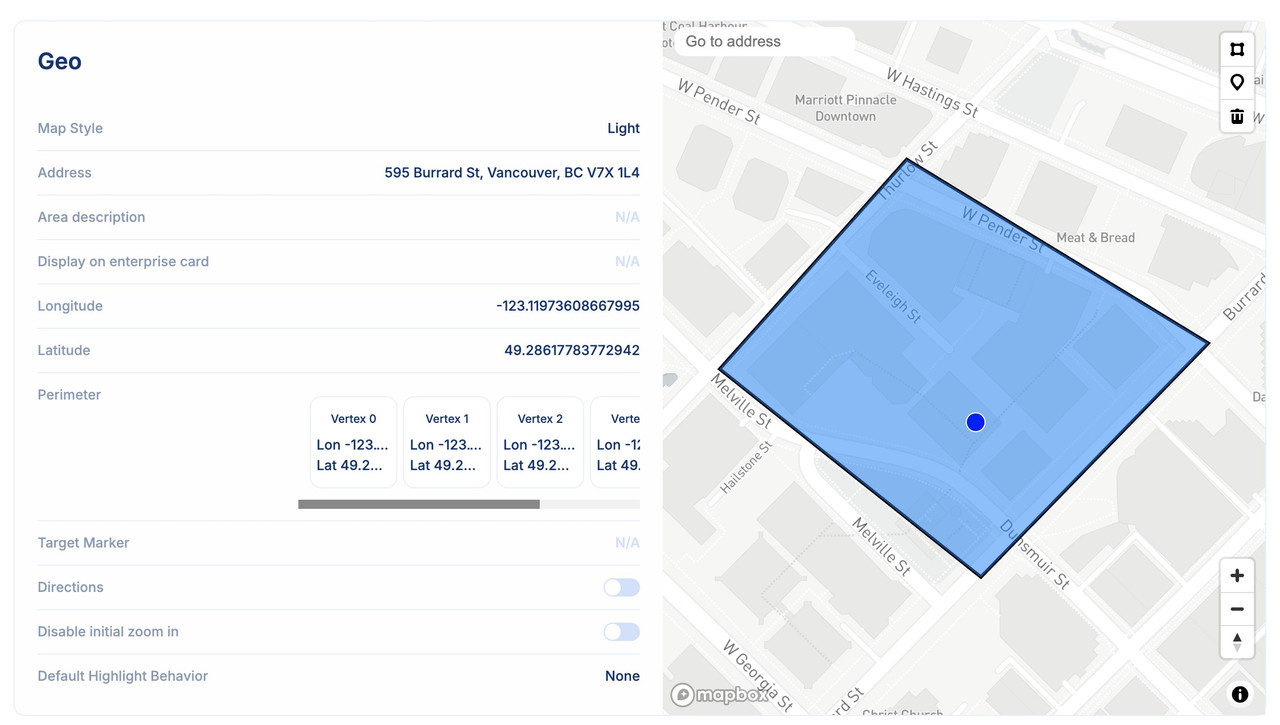
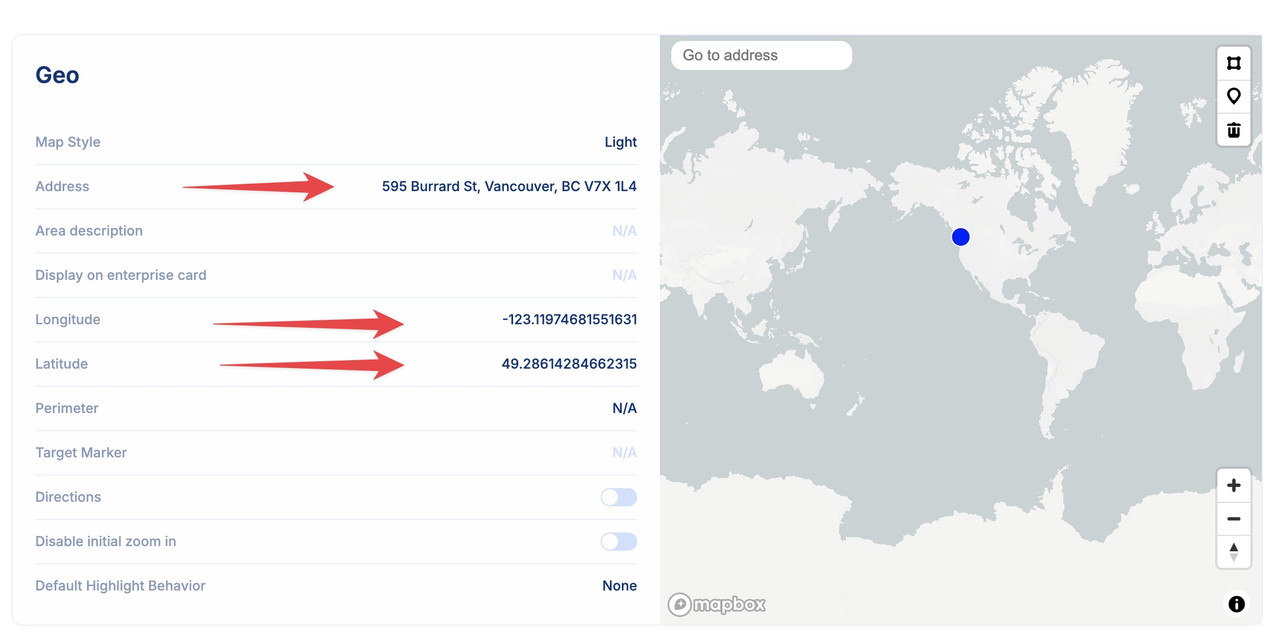
To organize the project’s geolocation, please enter the address and coordinates (latitude and longitude). Once this is complete, proceed to add the perimeter.
3
Step 3
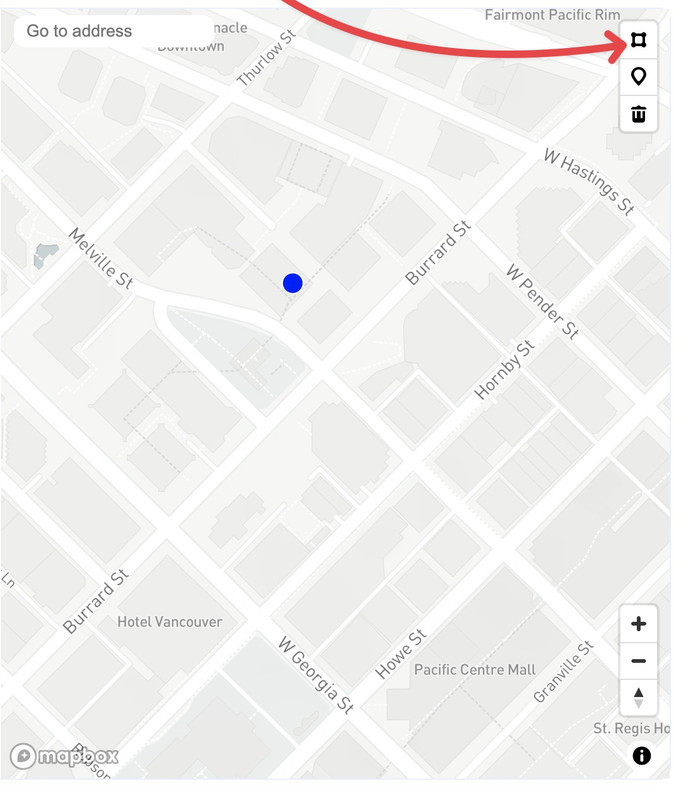
Begin by zooming in on the map located on the right side of the geolocation. You can use the Zoom In button in the bottom right corner, or scroll your mouse over the map until you reach the desired view.
Next, click on the polygon tool to draw your perimeter. Once you have finished, double-click to confirm the new perimeter.
The perimeter is drawn using the same polygon system as the main render of the project
Once the perimeter is placed, the area will be highlighted in blue on the map, and the perimeter will display the coordinates of each vertex (point) on the left side of the geolocation. If you wish to redraw your perimeter, simply click the polygon tool again to place the vertices on the map and confirm
4
Step 4
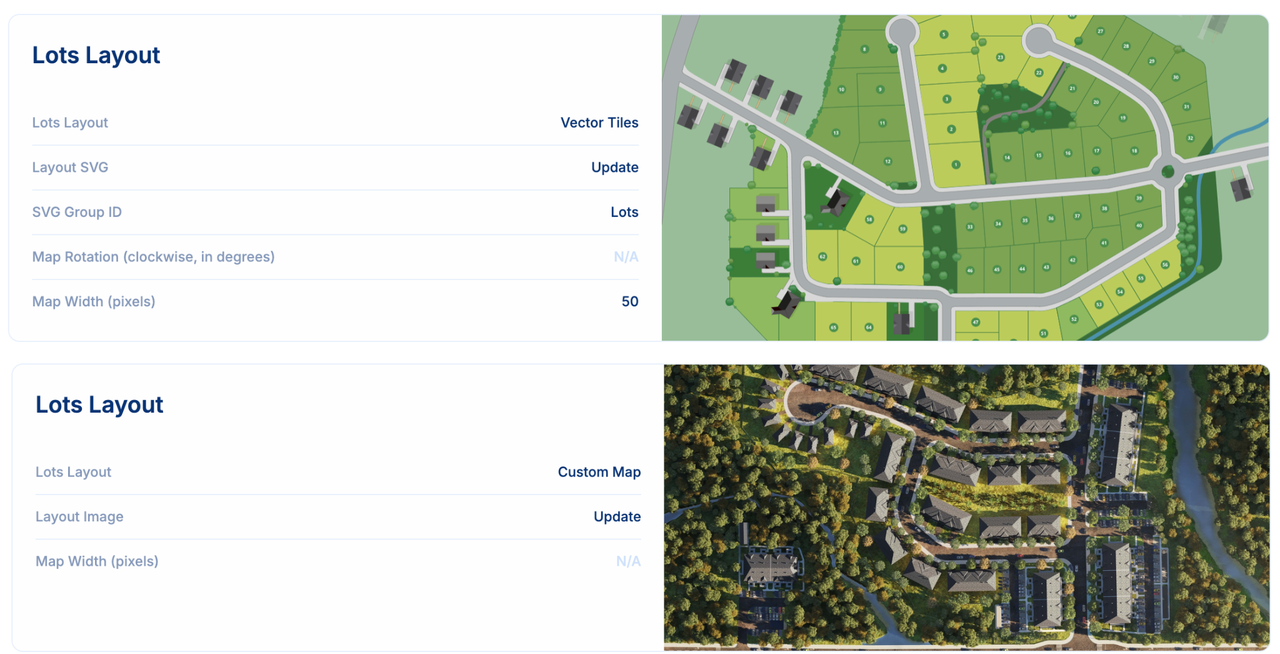
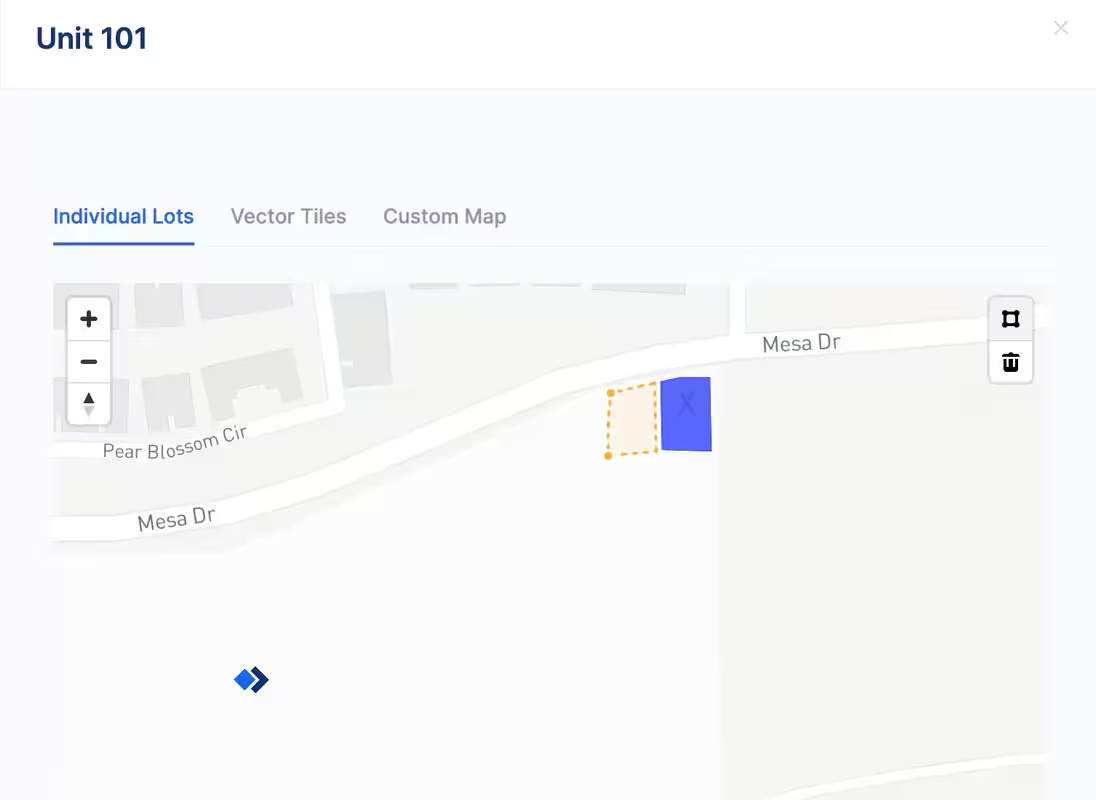
After setting up the geolocation, you need to select the lot layouts. You can choose from individual lots, vector tiles, or a custom map.
Once the lot layouts are selected, please provide the required information
5
Step 5
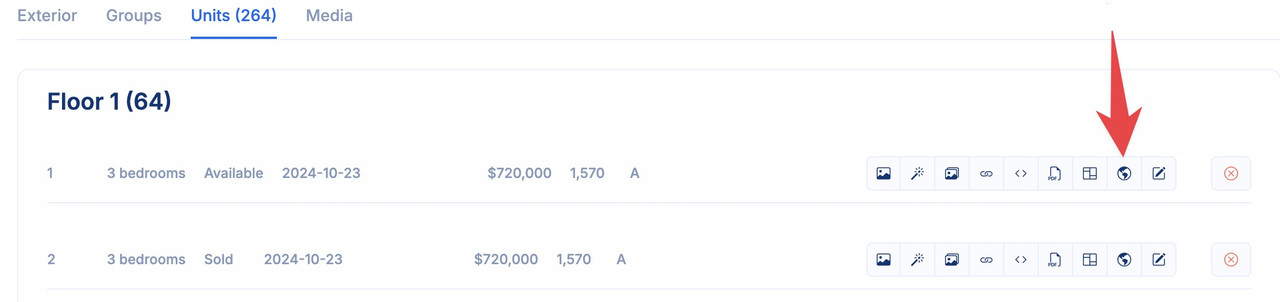
Assuming that the units have already been added to the project, and you’ve selected a custom map for the lot layouts, please proceed to the units module and click on the world map icon.
6
Step 6
Once you’re there, simply draw your polygons on the custom map tab.


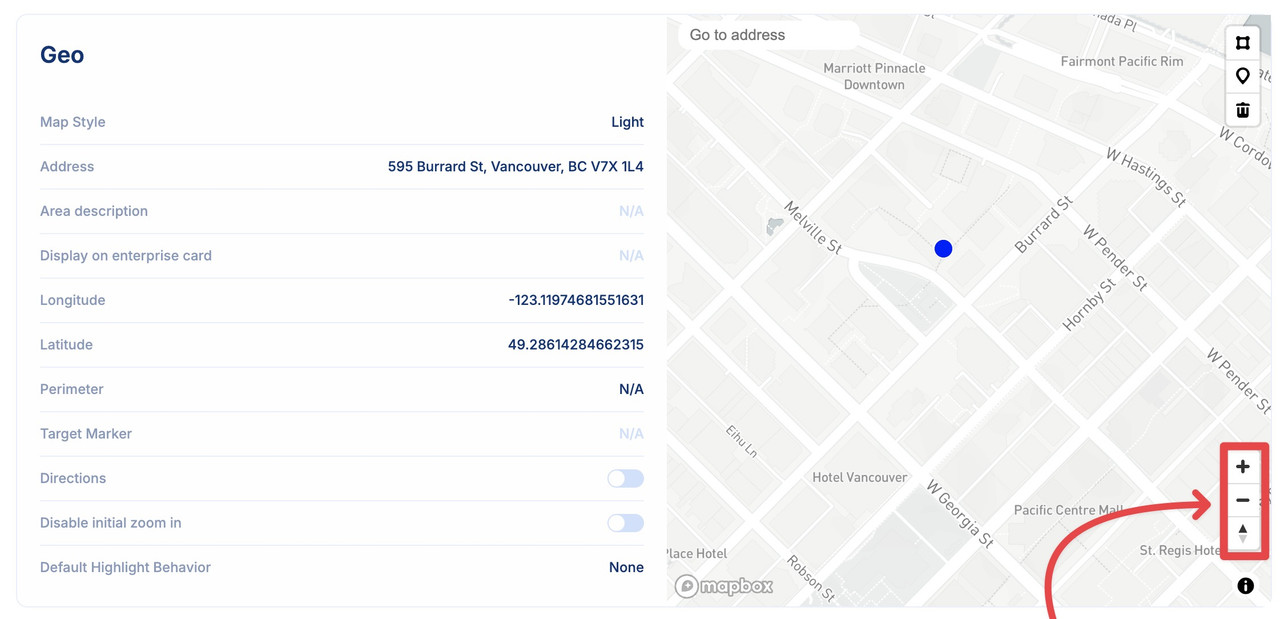 Next, click on the polygon tool to draw your perimeter. Once you have finished, double-click to confirm the new perimeter.