Download the Superframe app for Windows, macOS and iPadOS on our website.
Video Guide for Visual Learners
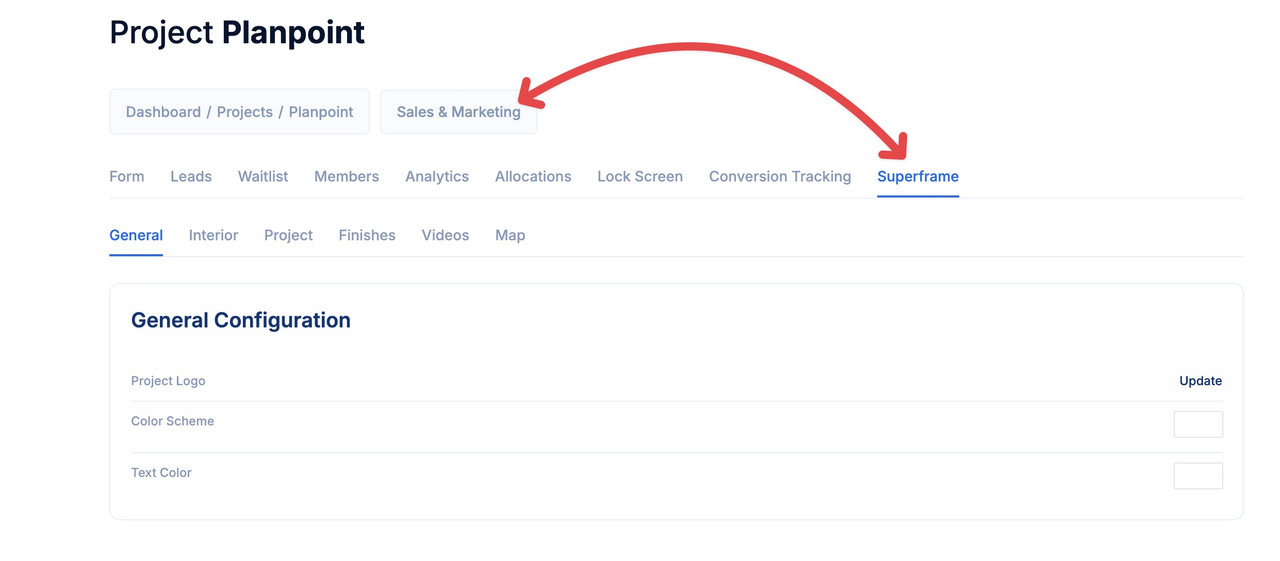
Step 2: General
You can update the project logo displayed in the Superframe by simply browsing and uploading a file from your device. Additionally, you can customize the color scheme and text color to match your branding.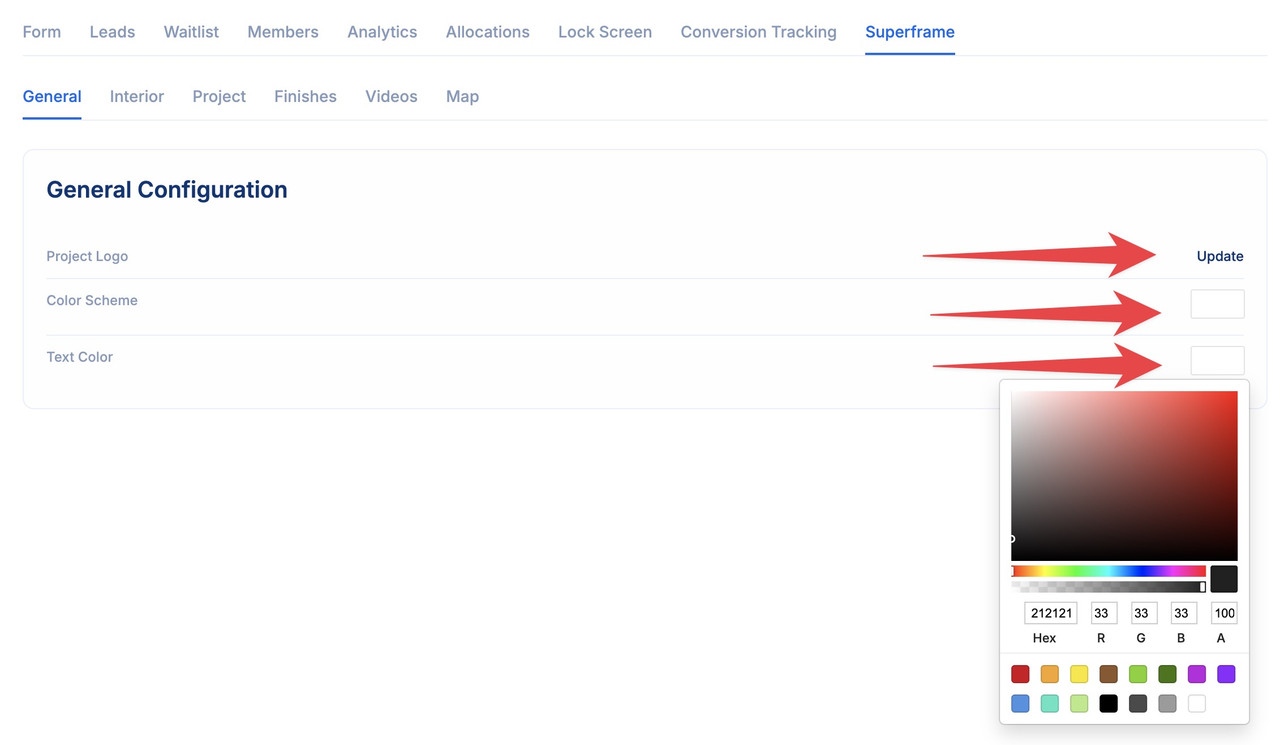
Step 3: Interior
Here, you can divide the interior of the project into different rooms of the unit, allowing you to display each section separately. Please note that you can fully customize your project to suit your needs.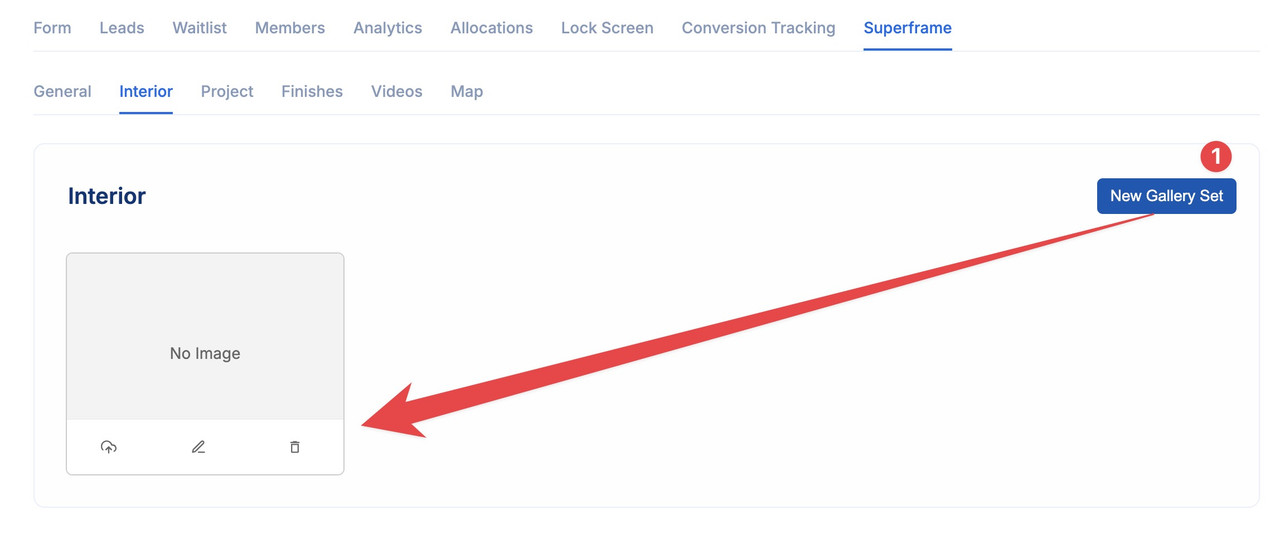 After adding a new gallery set, you’ll need to upload the main render for the room by clicking the cloud storage icon and selecting the file from your computer.
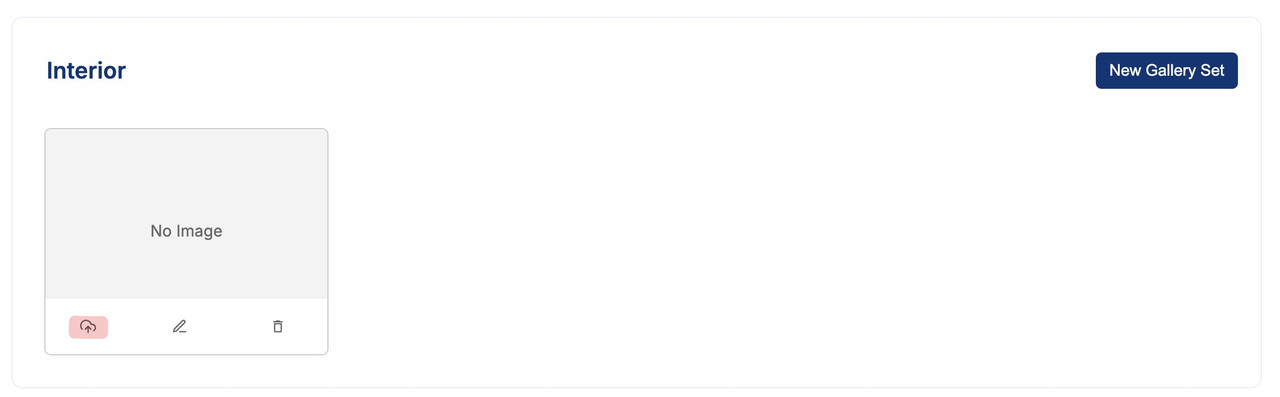 The edit button allows the user to add a title for the room, include a 3D tour link (if available), and upload the image gallery for this area.
You can also delete the gallery set by simply clicking the trash can icon.
Step 4: Project
In this section, you can add content related to the common areas of the project. It follows the same format as the previous section (interior).
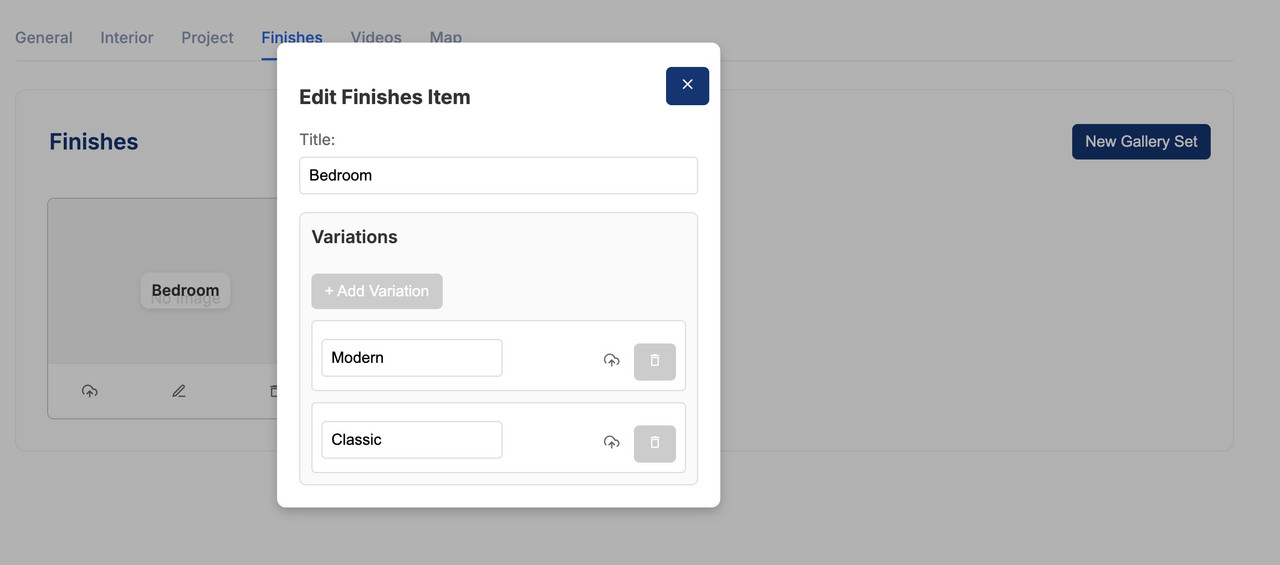
Step 5: Finishes
Simply add your choice of finishes to the project and edit the gallery set as demonstrated in the previous steps.